An Amstrad CPC 464 without its drive tape by 6502man
-Following the last story about the Amstrad CPC 464 without its defective tape drive by Olivier Bruneau, here are the photos of the original CPC which inspired him by 6502man on System.CFG. What follows is a cut and paste of the System.CFG message, with the permission of 6502man.
I propose a unique model of AMSTRAD CPC. Yes, it is an unique model, never seen before.
For a long time, I had the idea to have an Amstrad CPC 464 without its infamous internal tape drive, whose design isnt nice (my own opinion). But at the same time, I asked myself a question : what would have been the first Amstrad CPC if it had been sold without the internal drive ? So from the question to action !
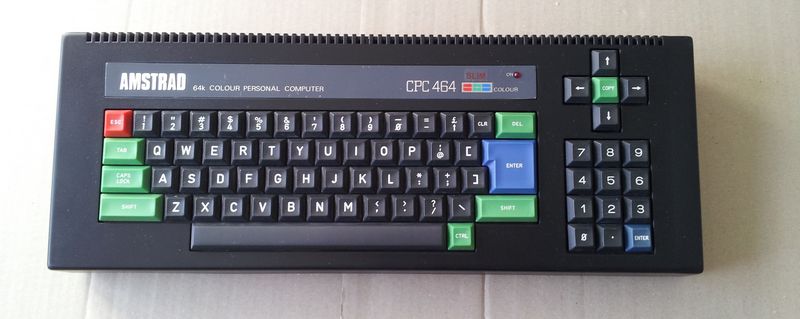
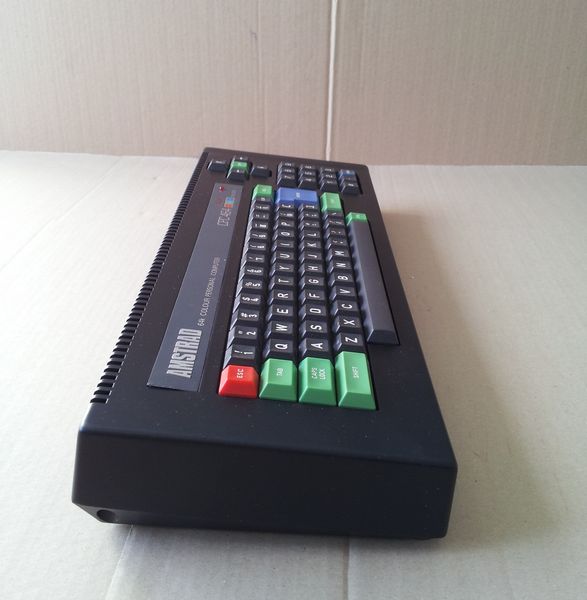
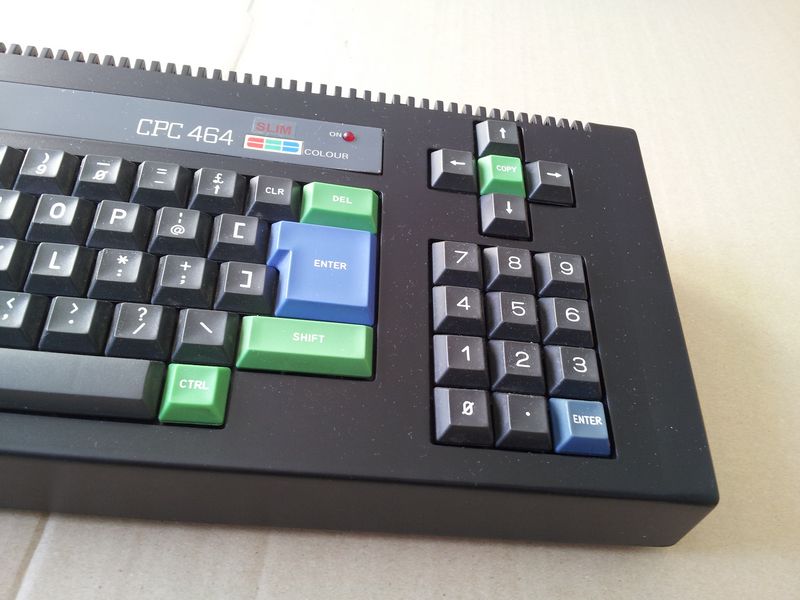
So after all these questions, and a lot of ideas dancing in my head, here is prototype without its tape drive, I present to yourself the Amstrad CPC 464 slim !
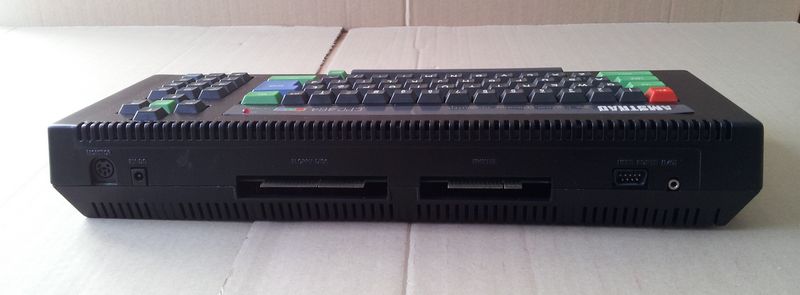
And it works.
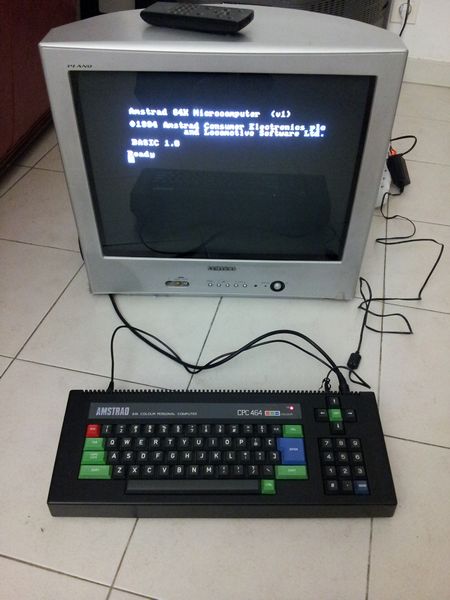
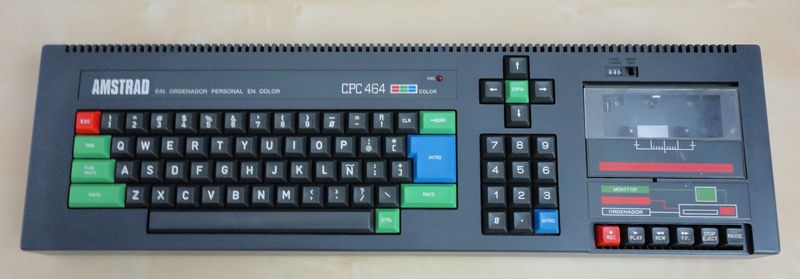
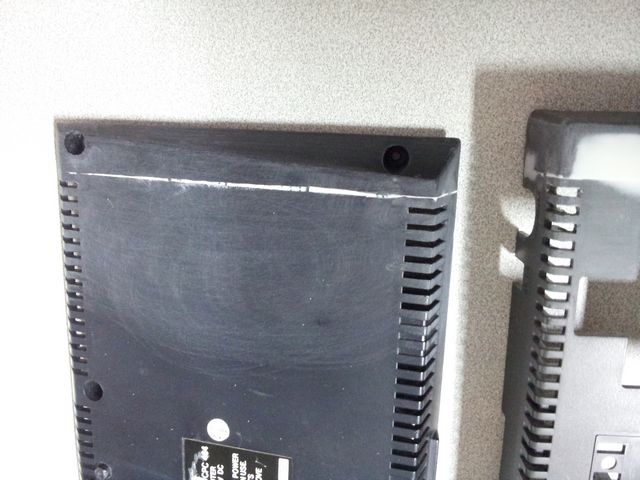
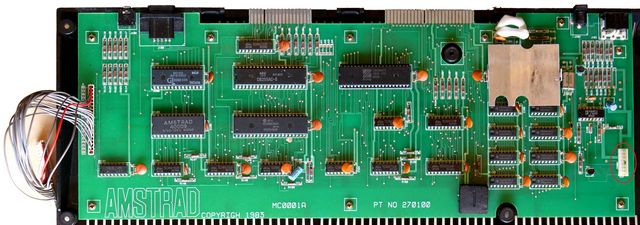
How did I come to this result ? First, here is the original computer :
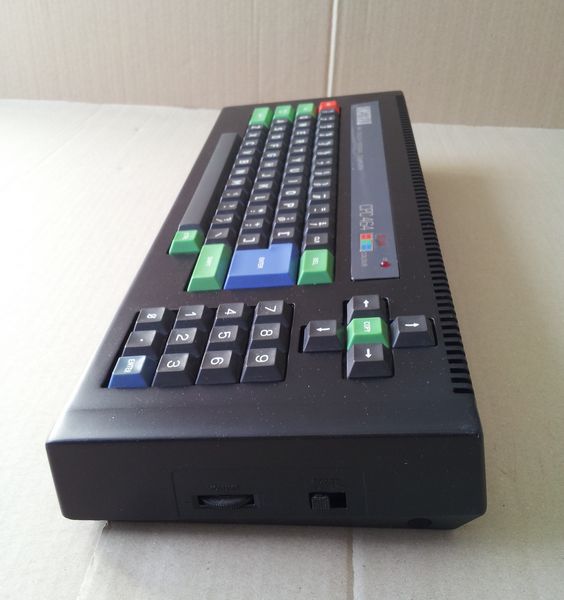
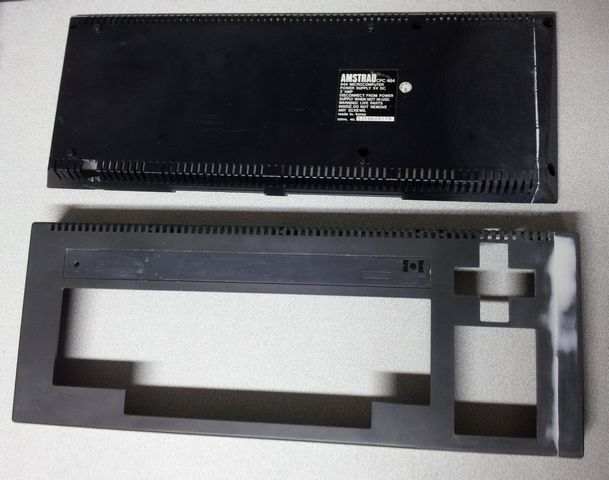
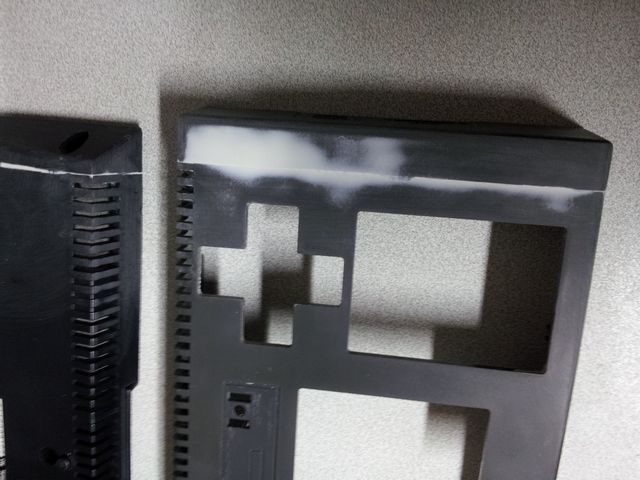
We start cutting the tape drive, without forgetting to keep the right side of the CPC box to close it later and to keep the ON/OFF and volume settings.
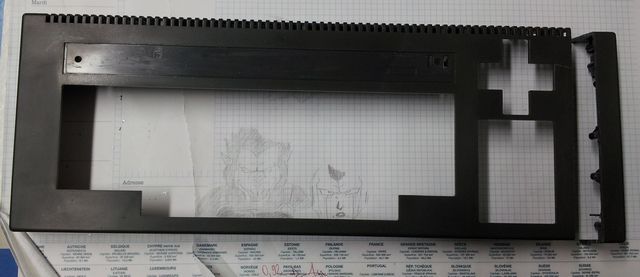
After sanding (big grain) then and using Water-based paper, we paste the cutted parts with fiberglass and filling with mastic, we also keep the cutted parts just in case we break a part of the CPC box.
We sand again with Water-based paper to smooth the mastic, then we apply a layer of white primer.

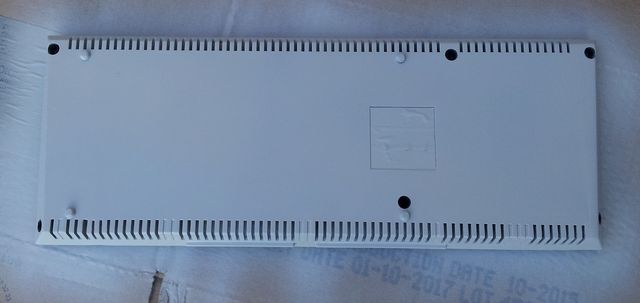
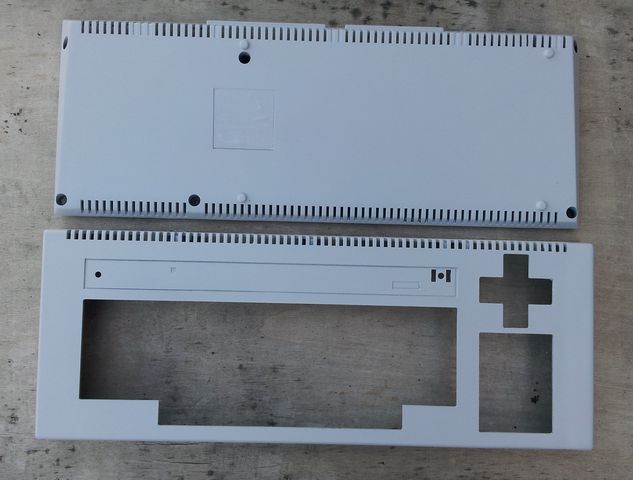
We put black paint, we replace the motherboard, the keyboard and we get a nice Amstrad CPC 464 without a tape drive.

For the electronic part, the ON/OFF button is connected on a card screwed to the tape drive, and without it you can't start the CPC.
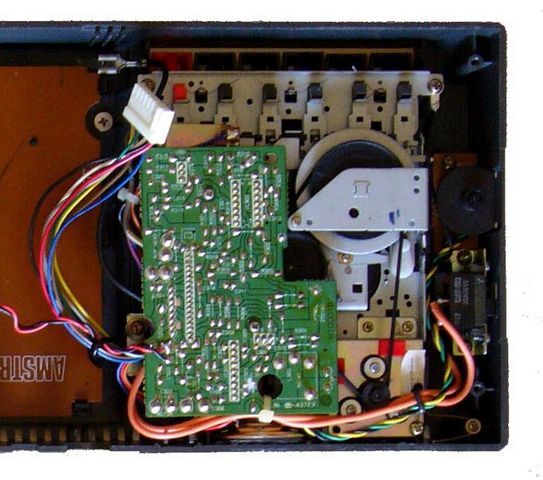
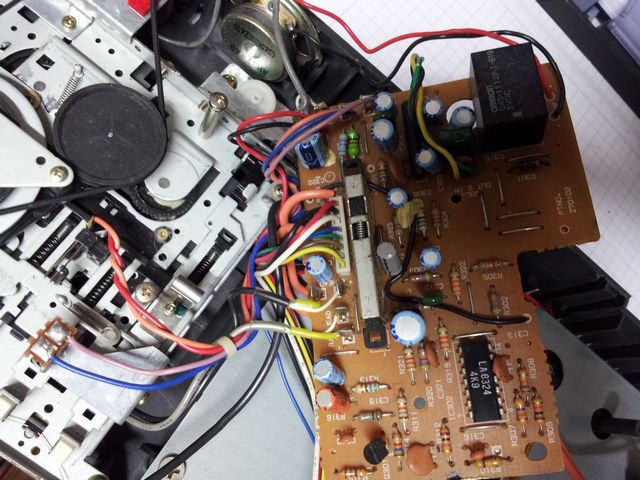
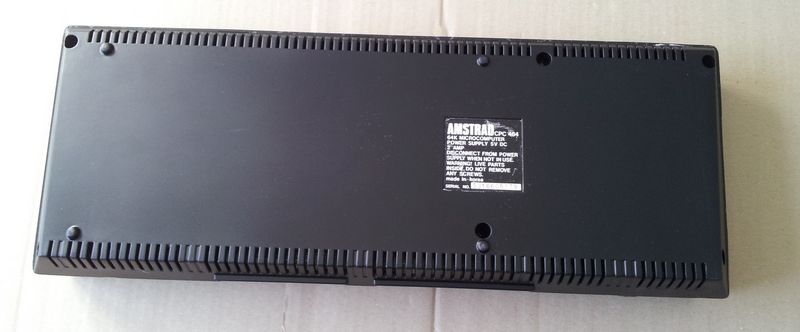
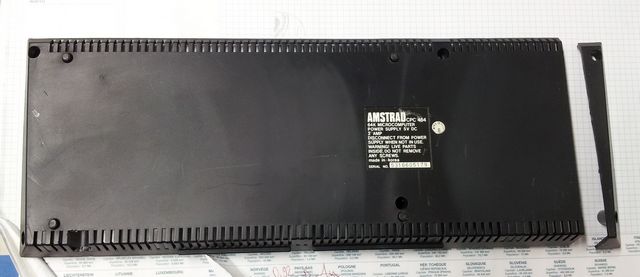
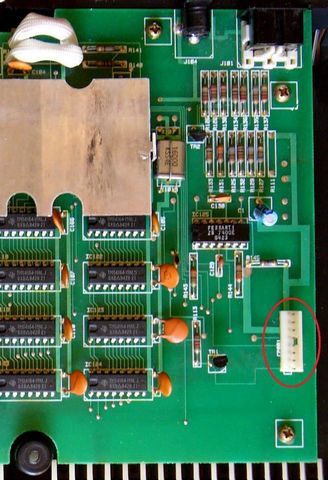
I unwound the wires of the switch on the board, and then wound it to two 3,5 inch molex connectors to connect it instead of the original switch for switching on the computer with the original button (thanks to Irios for the correct wiring). The two molex connectors with only 3 wires are on the motherboard at the point marked with red on the photos below.
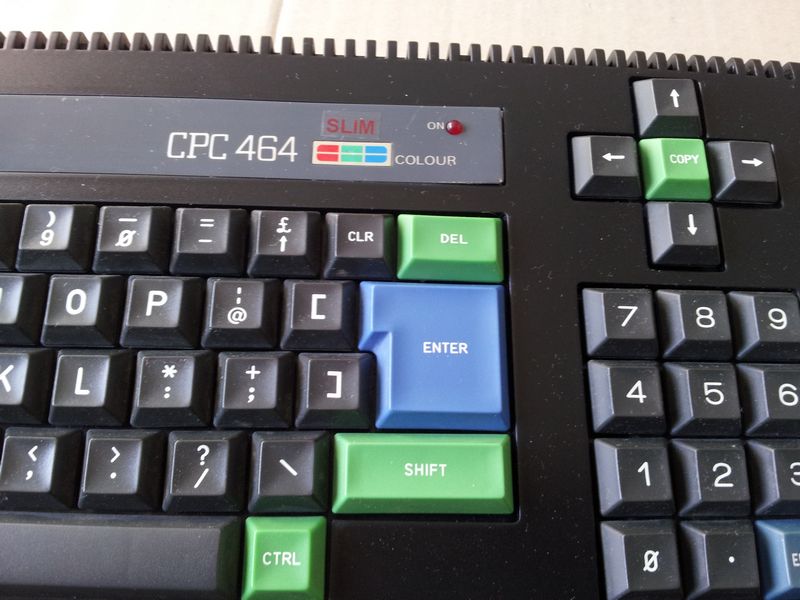
I also took advantage to put a ON/OFF LED also connecter on the smal card, connecteed to the electrical ground of the alimentation (hope translation is fine ???) and on the ON of the ON/OFF button, like this the LED keeps its function. But for the volume button, I keeped it with another use, like this no hole in the CPC box.
Here it goes, now some double face scotch for the metal plate, and the project is finished and functionnal.
BEFORE

AFTER (it's nice)

I reassure you, I did not sacrifice an Amstrad CPC 464 to do this tinkering, but in fact I recovered an empty shell of CPC 464. The rest had to go to the dumpster, and so I was able to realize my idea, otherwise I would have waited for a broken Amstrad CPC 464.